 Yes, it is a Wizard of Oz lunch box. I didn't know what I was going to do with it, but I knew it would be worth the $1.29 I paid for the box. So, I took it home and the wheels started turning. Brigham, as you know, is obsessed with letters and words. I have taken to finding creative ways to make more alphabets for him. He doesn't seem to be able to get enough. What if I made him a letter lunch box? He has lots of letter magnets, and if I could transform this lunch box into something a little more...boyish and letter-y, he could put the magnets in the box and it could go with us to doctor's appointments and such. It would be perfect! It would combine practicality with learning, and give me another fun project to work on! Alright, I know I am not making any sense, so I am going to give you a sneak peek just so you don't doubt my sanity.
 See, the magets stick to the outside

But are stored on the inside.
 Now that you no longer doubt my sanity, the instructions:
First, Oz had to go. I taped up the parts I wanted to stay silver (the snap was just too difficult, it got sprayed) and took black spray paint to the sides.
 This is what it looked like post-spraying. I kind of like the two-color snap. Then, I modge podged twice over the black. I went with the cheap black spray paint at Walmart, and although effective for turning things black, was very drab looking when done. I figured the modge podge would give it some shine and durability.
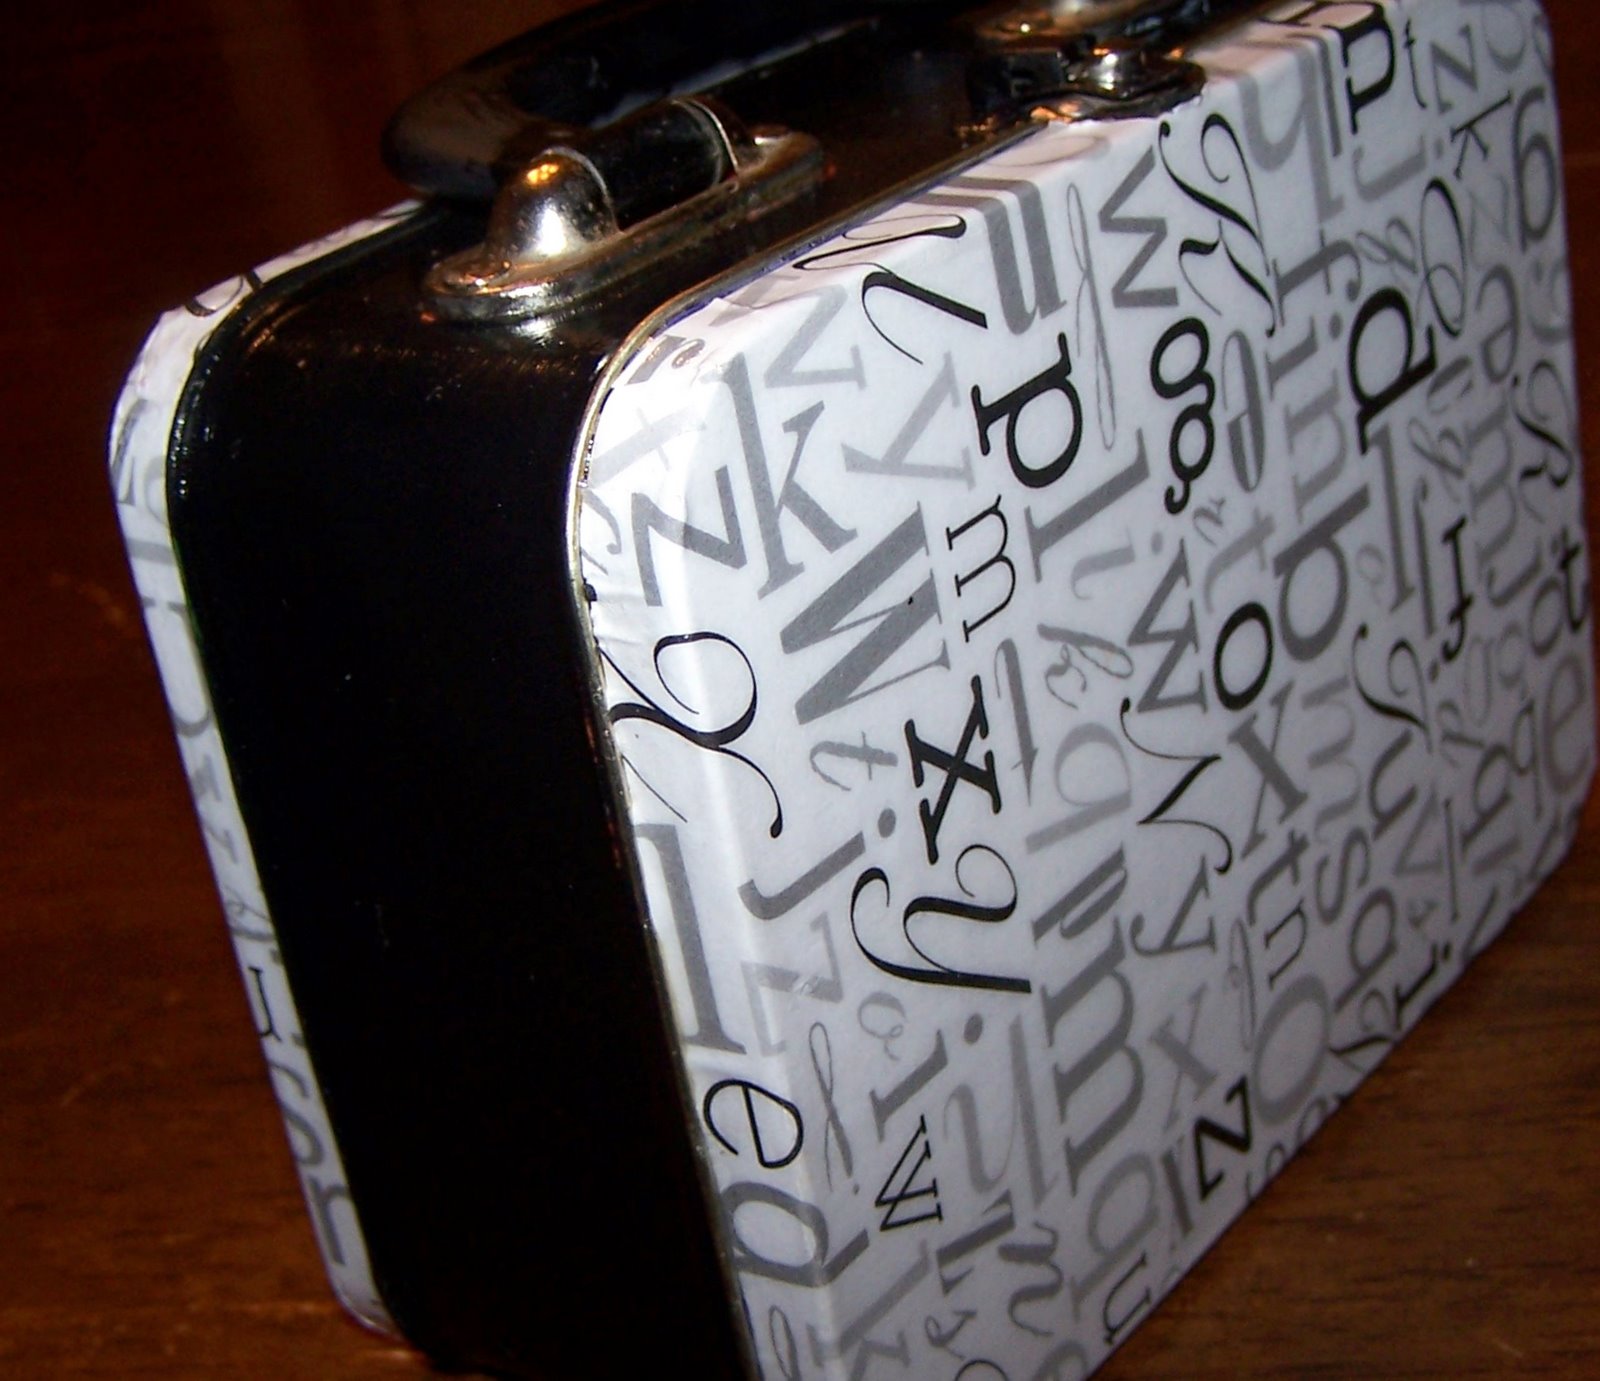
 Then came the tricky part, the application of the letter paper. Unfortunately, I didn't get a single picture of the process. My hands were a little too gluey, and the process was a little too experimental. Basically, I cut the paper approximately the size of the box, put down a layer of modge podge, and stuck on the paper. The edges were a little rough, so no close-ups will be disclosed. After adhering the paper, I put on two more layers of modge podge, again for durability. This time I could have done without the shiny, but I am too cheap to go get a matte version. This is what I ended up with -


Word to the wise - if the cute lunch box you picked up at the thrift store has rust on it, you may want to cover it with spray paint, sealant, or some other magic. I didn't, and after the second outside layer of modge podge, the rust soaked through. Oops!
 Thank heavens it was on the back, and the 5-year-old boy who gets this box isn't picky!


No comments:
Post a Comment